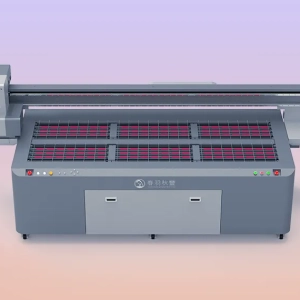
Turning a design file into a deliverable UV-printed product requires several stages, including file setup, material preparation, digital inkjet printing, UV curing, and finished-product inspection. Glass, acrylic, metal, PVC, wood panels, and other materials have different surface characteristics, so the production parameters must be adjusted accordingly. Understanding the complete workflow helps manufacturers arrange production efficiently and identify issues such as color differences, insufficient adhesion, positioning deviations, and uneven curing in a timely manner.
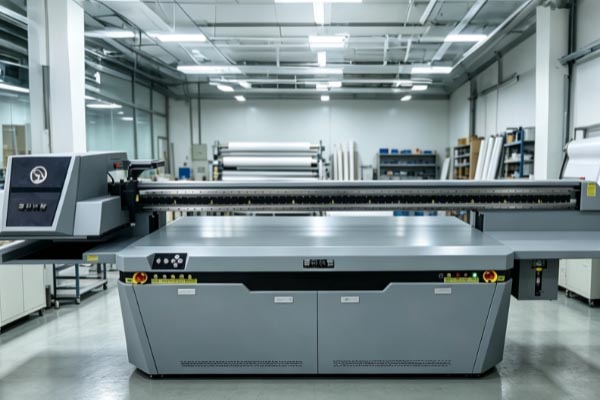
File and Material Preparation Before UV Printing
Before formal printing begins, the design file and printing material must be confirmed to meet production requirements.
Design Files Require Output Setup
Before entering the printing stage, the design file should be processed according to the product dimensions and actual application requirements.
- Confirm the image size and material size to avoid proportional deviations after output.
- Check the image resolution to ensure that text, LOGOs, lines, and complex patterns remain clear.
- Set color modes such as CMYK according to the desired product effect, and manage colors through the printing software.
- Set up the corresponding layers in advance when white ink, varnish, or special texture effects are required.
- Check the transparent background, cutting area, and bleed range to reduce edge stains, missing prints, and other issues.
For bulk orders, unified file-naming rules and parameter standards can be established to improve file-processing efficiency.
The Material Surface Requires Proper Preparation
UV ink can be printed on the surfaces of various materials, but different materials have significantly different surface conditions. The following preparation steps are required before printing:
- Check whether the surfaces of glass, metal, acrylic, PVC, and other materials contain dust.
- Remove oil, moisture, and other contaminants.
- Perform cleaning, dust removal, or primer treatment according to the material characteristics.
- Check the material dimensions, thickness, and flatness.
- Confirm that the material can enter the printing area smoothly to prevent shifting or material jams during transport.
Proper material preparation helps improve ink spreading and adhesion while reducing positioning problems.
How UV Printing Equipment Performs Inkjet Printing
After the preliminary preparation is complete, the design data enters the printing software and equipment control system. The machine then sprays ink droplets and forms the image according to the preset parameters.
The Software Processes the Printing Data
The printing software converts the design file into printing data that the equipment can recognize and controls parameters such as ink volume, resolution, and printing mode.
- Adjust the printing size and output position.
- Set the printing resolution and speed.
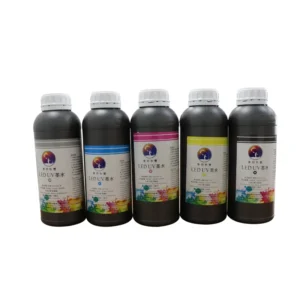
- Control channels such as color ink, white ink, and varnish.
- Match the printing parameters according to the material characteristics.
- Calibrate the colors so that the output effect is as close as possible to the design file.
For products requiring multilayer printing, the output sequence of white ink, color ink, and varnish must also be arranged properly.
The Printhead Sprays Ink Droplets Precisely onto the Material Surface
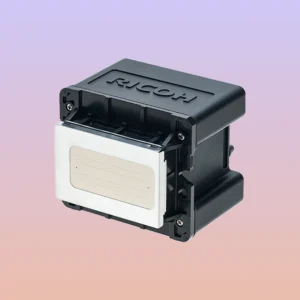
After the equipment starts operating, the printhead moves at high speed according to the digital image data and sprays tiny ink droplets onto the designated positions. The following factors need to be monitored during inkjet printing:
- Keep the printhead operating stably to reduce broken lines and inkjet abnormalities.
- Ensure a smooth ink supply to prevent insufficient ink delivery.
- Keep the motion system running smoothly to reduce ghosting and image misalignment.
- Confirm accurate material positioning to prevent image shifting.
- Replace image files according to production requirements to support multiple designs, small-batch production, and customized manufacturing.
UV printing does not require the production of traditional printing plates. When the image data changes, the file can be replaced directly, making the process suitable for flexible production.
How UV Light Achieves Rapid Curing
After the ink droplets land on the material surface, they must be cured by a UV light source so that the liquid ink quickly forms a stable ink film. This is an important feature that distinguishes UV printing from many traditional printing processes.
UV Irradiation Triggers a Photopolymerization Reaction
UV ink contains photoreactive components such as photoinitiators. After exposure to ultraviolet light within the appropriate wavelength range, the ink cures rapidly:
- The UV light source irradiates the ink surface.
- The photoinitiator absorbs ultraviolet light and becomes activated.
- The reactive components in the ink undergo polymerization and cross-linking.
- The liquid ink droplets transform into a solid ink layer.
- The ink layer forms a stable surface condition, reducing the waiting time required for natural drying.
The UV curing speed is related to the light-source wavelength, irradiation intensity, ink formulation, ink-layer thickness, and equipment operating speed. When the parameters are properly matched, the curing effect becomes more stable.
Curing Quality Affects Subsequent Processing
After UV curing is complete, the printed products can proceed to cutting, assembly, packaging, and other processes. Proper curing can improve surface hardness, abrasion resistance, and adhesion. For products such as advertising signs, appliance panels, packaging boxes, and decorative panels, curing quality also affects the ability to maintain their appearance during long-term use. During production, practical tests should be conducted to confirm whether the ink layer is fully cured, while adhesion and abrasion resistance should be checked according to the material characteristics.
Quality Inspection After UV Printing
After printing and curing are complete, the finished products must be inspected to identify problems promptly and reduce the risk of defective products entering subsequent processes.
Inspecting Image and Color Effects
Quality personnel can inspect the finished products based on the following details:
- Check whether the image edges are clear and whether there are burrs, ghosting, or missing areas.
- Check whether the colors match the approved sample.
- Check whether the white ink coverage is even and whether there are exposed areas or white edges.
- Check whether the varnish and texture effects meet the design requirements.
- Confirm that the image position, size, and orientation are accurate.
During mass production, products from different batches should also be sampled to monitor color and image consistency.
Inspecting Adhesion and Surface Condition
For non-absorbent materials such as glass, metal, and plastic, adhesion testing is particularly important. Cross-hatch, rubbing, or abrasion tests can be performed according to the product application to confirm whether the ink layer is firmly bonded to the substrate. The surface should also be checked for abnormalities such as incomplete curing, sticking, scratches, and bubbles. When problems are found, the ink, UV curing, material preparation, and printing parameters should be examined.
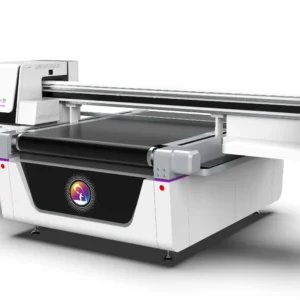
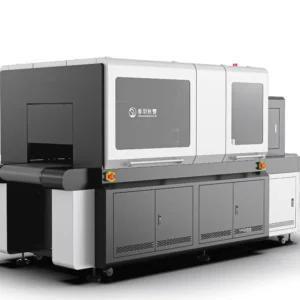
By setting printing parameters properly, optimizing material preparation methods, and strengthening finished-product inspection, UV printing can meet a wide range of customized production requirements. Stable equipment performance and standardized operating procedures also help improve production efficiency and finished-product consistency. Springyprinter specializes in the research, development, and manufacturing of industrial UV digital printing equipment, providing professional UV printing solutions for packaging, appliance panels, advertising displays, industrial customization, and other applications.